

Runnyeye - Recommended Level: 33-41
Runnyeye is perhaps one of the most popular dungeon zones around, and for good reason. It supports a good number of groups, has multiple named spawns, two difficult and highly rewarding instances, good paced spawn times, easy to crawl your way to the bottom, and best of all: more goblins than you can throw a Gigglegibber's loincloth at!
Let's start with the basics.Zone Name: Runnyeye Citadel
Connecting Zone: The Enchanted Lands
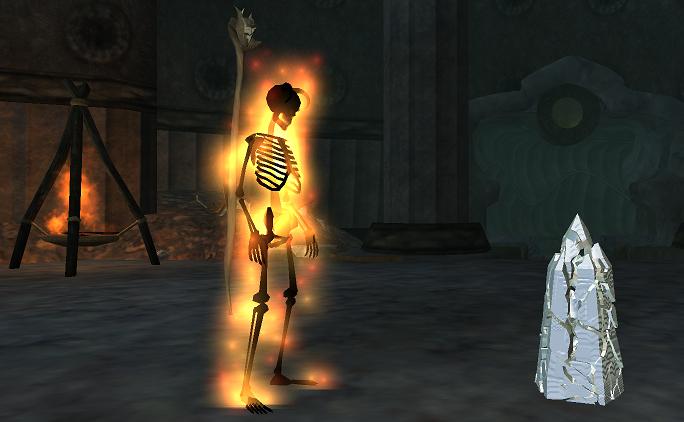
Instanced Zones: Overlord's Throne Room, Chamber of Rulgax Level Range: 33-41 Creature Types: Goblins, Minotaurs, Warboars, Evil Eyes, Golems
Look and Feel:
This zone feels like a goblin hideout, complete with lots of mud and debris everywhere, and improvised tools littering the debris, if that's possible. It feels like a goblin mining operation, which makes sense since the Citadel is completely underground.
Hallways are narrow, which makes visibility an issue when lots of players and monsters are around. Fortunately most hallway encounters are limited to only one or two mobs at a time. The large rooms however provide the breathing room needed for many of the multi-mob encounters.
Overall Difficulty: Easy to Medium
This zone can be considered a reprieve from some of the earlier dungeons in EQ2, as well as a taste of things to come. Except for a couple areas where wipes are easy, this zone is manageable by just about anyone. This is also a zone where crowd control is optional, and major healing isn't needed, so you can easily get away with a less-than-ideal group makeup.
Zone Strategy:Getting to Runnyeye can be a challenge. The entrance is guarded by several groups of Runnyeye goblins, Evil Eyes that can see through the best of camouflage, and the occasional Sludge Creep. However, as long as you remember to sprint, and not stop for anything, you'll have no problems entering.
The zone entrance comprises mostly of level 33 minotaurs and goblins, up to the Bog Tower Crossing. This is a relatively easy area for any adventurer to fight his way to. Even a little ways further, up to the first hallway split can be soloed.
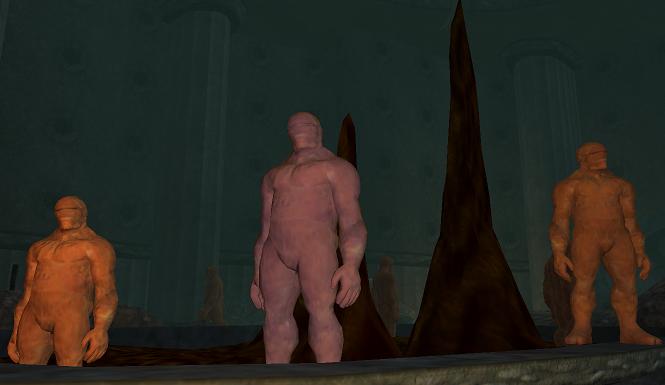
Once the hallway split is reached, the heroic content begins, starting with some wandering clay remnants. This is an easy spot to bite off more than you can chew. Further down is the Muddite Pool, populated by several more clay remnants, and the occasional pair of named remnants: The Clay Insurgent, and the Mudslinger. One needs to use caution pulling this room, or again you could face odds greatly against you.
This area is often used as a staging area for the rest of the zone due to its ease of access.
A second hallway split immediately precedes the Muddite Pool. Depending on how fast your group can pull and kill, and your aims, you can hang a right and face a constant onslaught of Evil Eyes and Minotaurs (including the very rare Viroc Bloodlust), or head left to continue your journey deep into the zone. Heading left, though, is not for the faint of heart, as the difficulty picks up rapidly.
I dub the next intersection the Evil Eye Escutcheon. Four highly powerful oculus wizards and illusionists patrol this area, each level 37 or 38. It's very difficult to fight one without the other three joining in the fray.
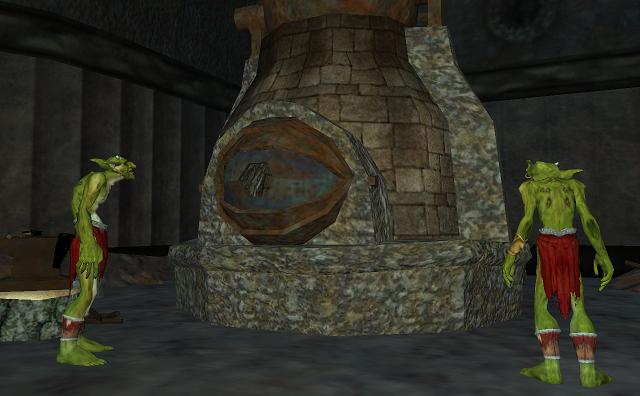
This intersection also divides the rest of the zone in half. To the north is Goblin territory, and to the south...MORE goblin territory!
To the north is a series of rooms that host large, powerful armies of goblins. That is to say goblins have the intelligence to form armies, which they don't. After the first room, you come across the Goblin Hallway of Things That Go Splat, namely your group if you aren't careful. Several very powerful level 40 and 41 goblins patrol this hallway, and they patrol relatively close to each other. One wrong move and you'll have the whole force on top of you, quick to break your wrists and eat your endtrails.
Many a group never makes it past this hallway, only to wipe and have to start over at the entrance.
Just past this hallway is yet another intersection. To the north is more goblins, as well as the zone to The Overlord's Throne Room, a low 40s instance, as well as a shortcut to the zone entrance. To the south is a few more goblins, all in the high 30 and low 40s.
Backing up to the Evil Eye Escutcheon, heading south is significantly more linear than heading north. However, that's not to say it's any easier. In the first room you come across is a large number of goblin miners, and their Shift Boss. One needs to be EXTREMELY careful pulling this room, or the room will pull you, if you catch my drift. Like the Goblin Hallway of Things That Go Splat, The Shift Boss likes to collect things that go splat. In this case, you.
Many groups also wipe here, only to be forced to start at the beginning again.
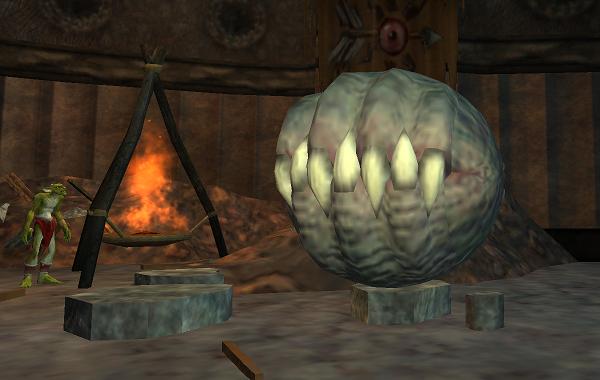
After the Shift Boss, deeper down is a fairly linear path of warboars, evil eyes, and more goblins, until you reach The Thing of Shattered Iron. It is not needed save for one or two quests, but next to it tends to spawn The Cerebus, a powerful and rare warboar.
Deeper down still is the last of the evil eyes, as well as a few strong goblin defenders. The Chamber of Rulgax, as low 40s Evil Eye instance, as well as the shortcut to the entrance, are in the very last rooms.
While the trip to the bottom can be challenging, the trip back to the entrance can be even more challenging. This dungeon was meant to be traversed in one primary direction, and heading in the opposite direction means you may get some unexpected surprises, in terms of adds.
All in all though, this zone is also one of the fastest zones you can level up in, due to the sheer number of baddies to kill, and the speed that you can move through this dungeon.
Just about every named has a chance at dropping Fabled loot, including Master I spell scrolls. And since named mobs and placeholders spawn very frequently, chances are you may kill the same named several times in one sitting.
Important Quests:
- Lore and Legend: Evil Eye - This is the only place to get this Lore and Legend book. It's early in the zone, by the Muddite Pool.
- Evil Eye Rampage - Triggered by a dead evil eye near the Chamber of Rulgax. Kill 100 evil eyes!
- Goblin Rampage - Near the goblin hallway. Kill 200 goblins!
- Messy Runnyeye - A repeatable quest given by Janitor Zolbuk near the entrance of the zone.
- My Friend, Snorgle Filthwallow - Given by, you guessed it, Snorgle Filthwallow near the entrance.
- Best Friends for Life - Snorgle's second quest after completing his first one.
- Runnyeye - Banker's Favor - given by the Runnyeye Banker. Who knew the goblins were smart enough to handle money...?
- The Clay Barrel - An easy quest, though not given until very deep in the zone.
- Just about anywhere. This zone is big enough where you can camp just about anywhere and "hold" a few rooms without much issue.
- Clay Insurgent and Mudslinger - These two spawn at the Muddite Pool, often at the same time.
- Viroc Bloodlust - Rare named minotaur near the evil eye attendants. Can rarely drop powerful fabled melee weapons.
- Runnyeye Chef - Spawns near the Overlord Throne Room.
- Drina the Mess Cook - Spawns south of the Runnyeye Chef.
Final Thoughts:
This zone is a fun and easy zone to go hunting in. I highly recommend everyone hunt here at least once, and hunt all the way to the instances; the rewards are worth the effort.
Character Name: XalmatServer: Permafrost